Paxton Door Entry Intercom Integration with 3CX Telephone System
User Account
The door entry system itself has to login to the 3cx phone system to register as an extension, which will then allow the door entry system to ring the relevant phones when entry is required into your building/office.
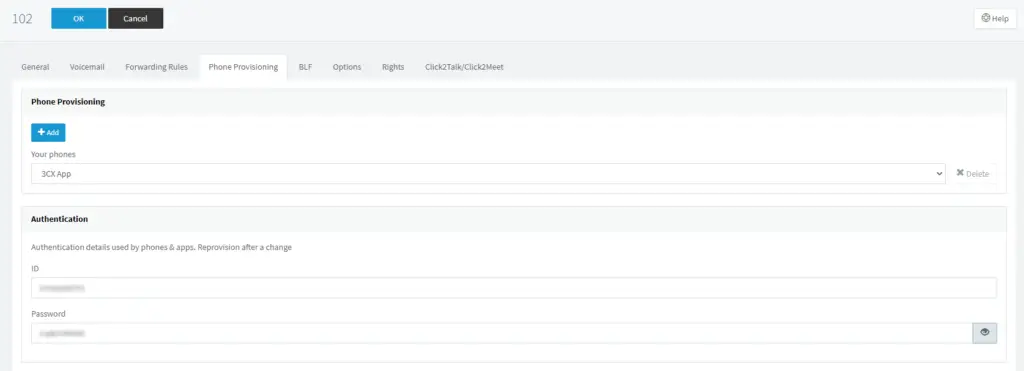
Create the user within your 3CX phone system, use a name that is easily identifable when somebody uses your intercom, for example Front Door.
You will then need to take note of the ID located under the phone provisioning tab and the Password located in the same section. These will be used later on when configuring the door entry software.
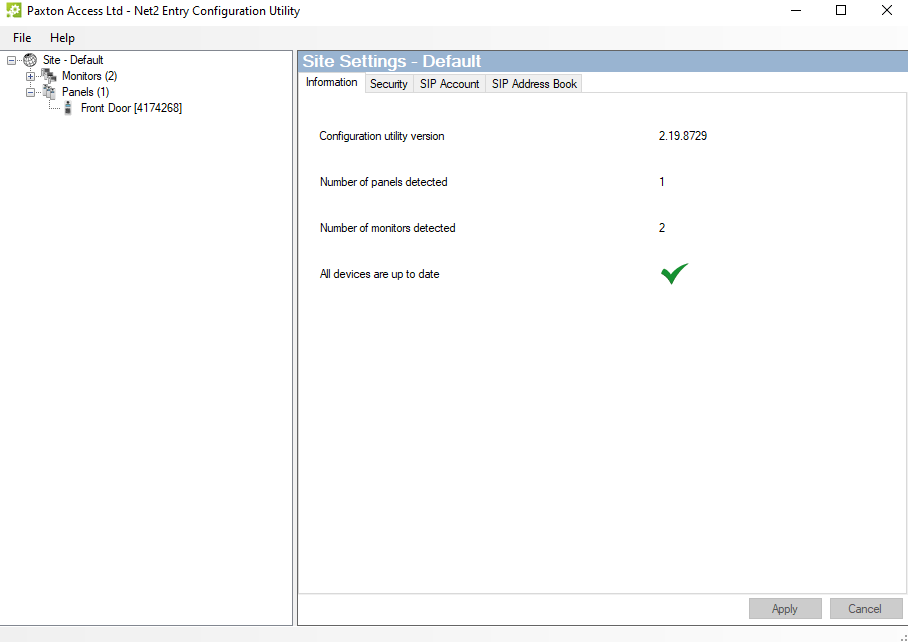
To start with you will need to download the Paxton entry configuration tool. You can request this directly from Paxton, if you weren’t given this software by your installers. You will need to know your system engineer code to get into this software which your installer will have.
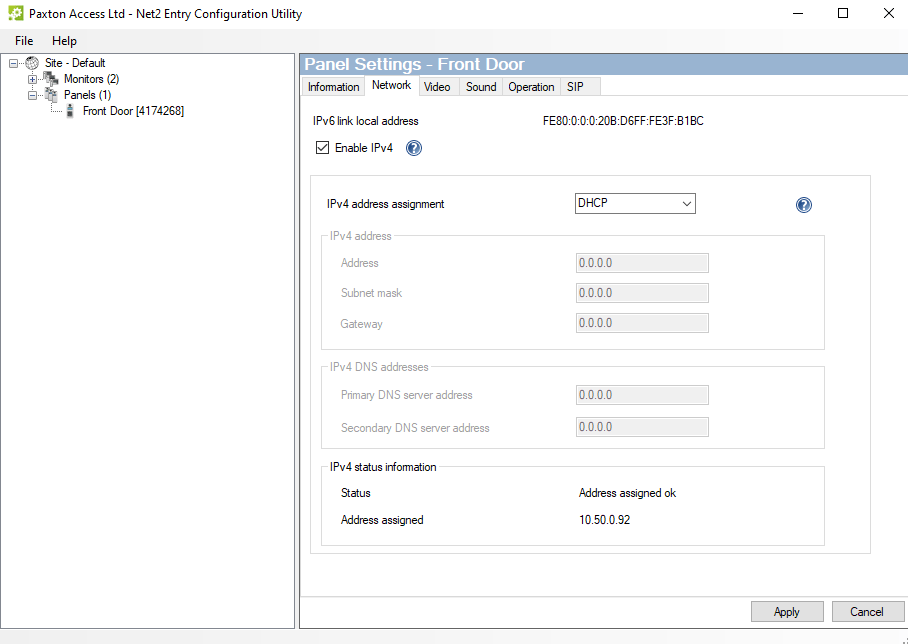
To allow the system to see your 3CX system it requires an IPV4 address on the network. To enable this go into the Network tab and enable IPV4, set this via DHCP or statically if required. You will receive the status Address assigned ok at the bottom of the window.
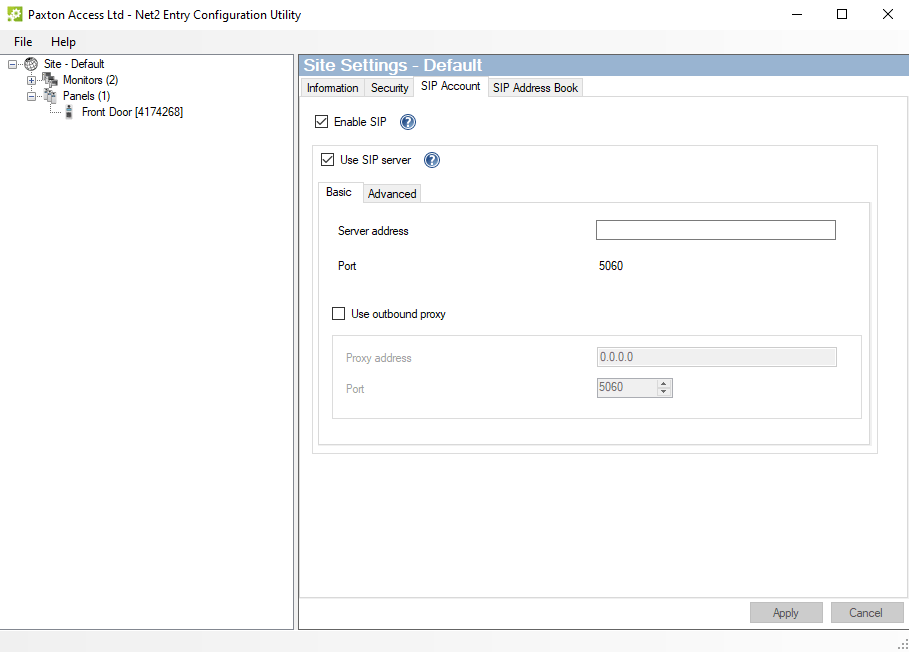
Heading into the Net2 entry door configuration utility, you will need to go into the site tab on the left-hand side and go into SIP Account tab. Within here you will need to tick the box to Enable SIP and Use SIP server, from here you will then need to put the following information in the basic section as follows:
– Server Address – Your 3CX server name, for example myserver.3cx.co.uk
Then within the Advanced tab you will then need to enter the ID that you took note of in the last step from your 3CX provisioning tab.
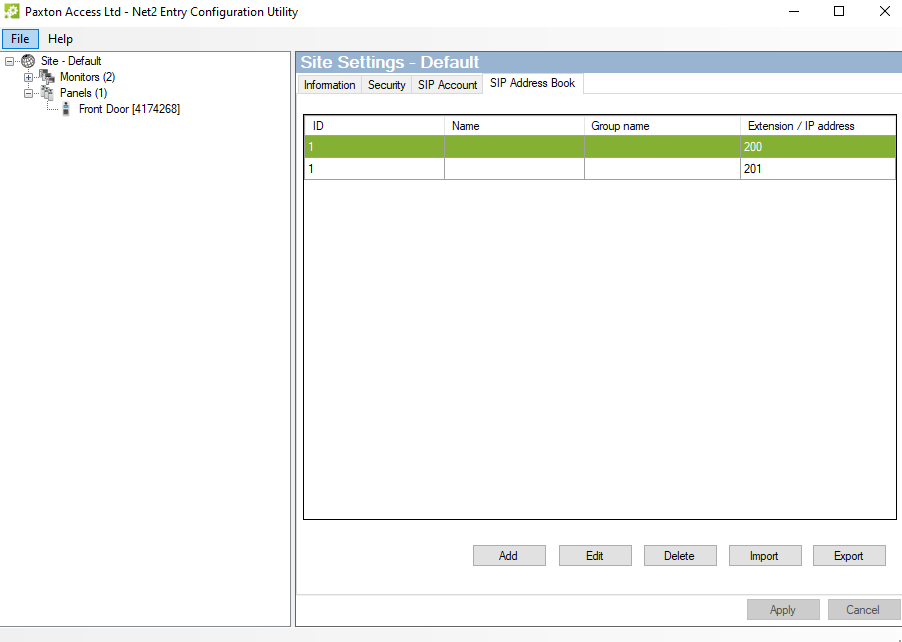
Configure the address book
You will then need to configure the extensions which you’d like the intercom to ring each time someone requests to access the building/office. To do this add in the relevant extension from your 3CX system that you would like the door intercom to call. If you require it to ring multiple phones then you can add the extension of a ring group within your 3CX system.
You can add multiple entries if required.